TradeWindow® Prodoc on the cloud
TradeWindow Prodoc is now available on cloud as a Microsoft Azure hosted cloud product. Prodoc Cloud users can access Prodoc via the web, or via native clients for Windows and Mac. The purpose of this document is to help users get started and setup on TradeWindow Prodoc Cloud.
TW Prodoc for Windows
Step 1: Install the Windows App
You can install the Windows App using one of the following methods:
- Microsoft Store (recommended):
Download from Microsoft Store - Direct MSIX download:
Download the MSIX package
After installation, launch the Windows App. You will see the sign-in screen as shown in Screenshot 2.
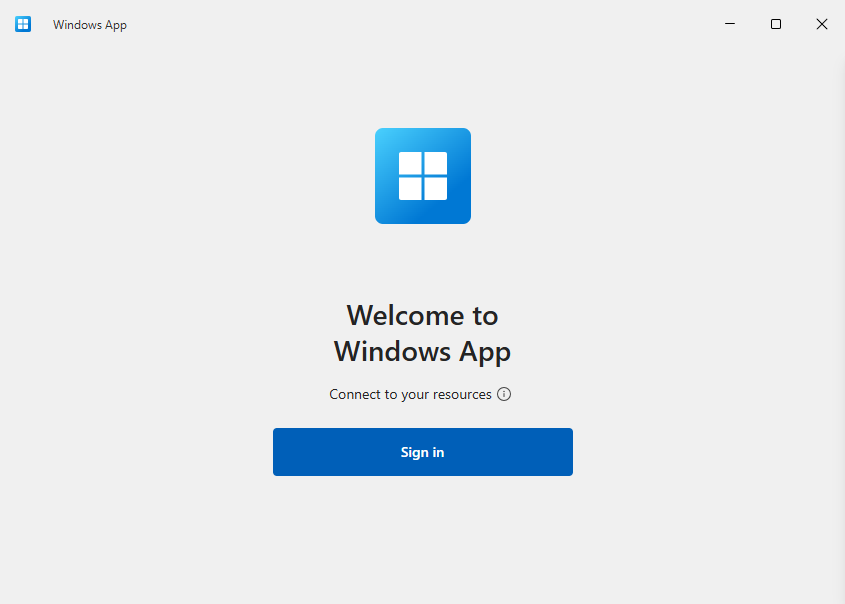
Step 2: Sign In
- Enter your @twprodoc.io username and password.
- If you do not know your password or need a reset, contact prodoc@tradewindow.io
Step 3: Switch to the Apps Screen
Your Prodoc Cloud access is in the 'Apps' section. Use the navigation bar on the left to switch to that.
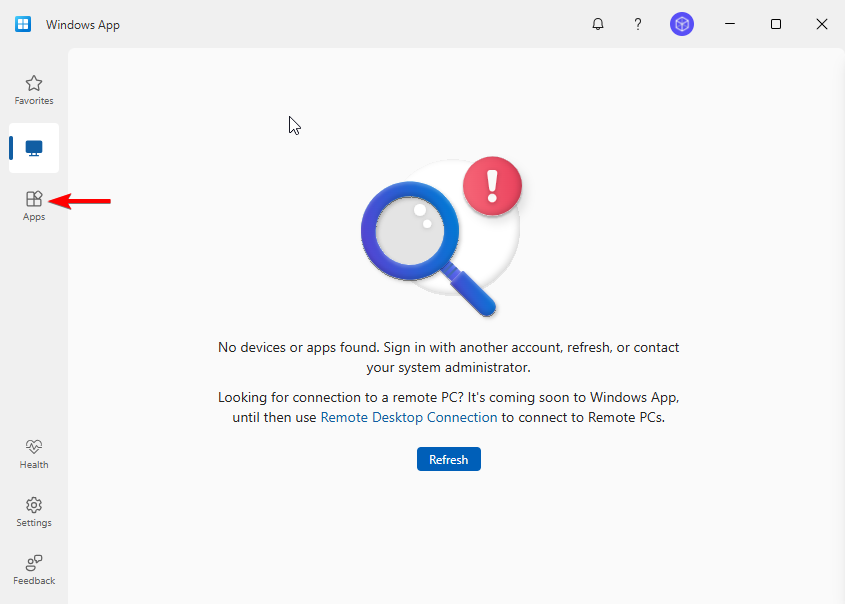
This will display the available applications you can access.
Step 4: Access Prodoc
On the Apps screen, locate the Prodoc application
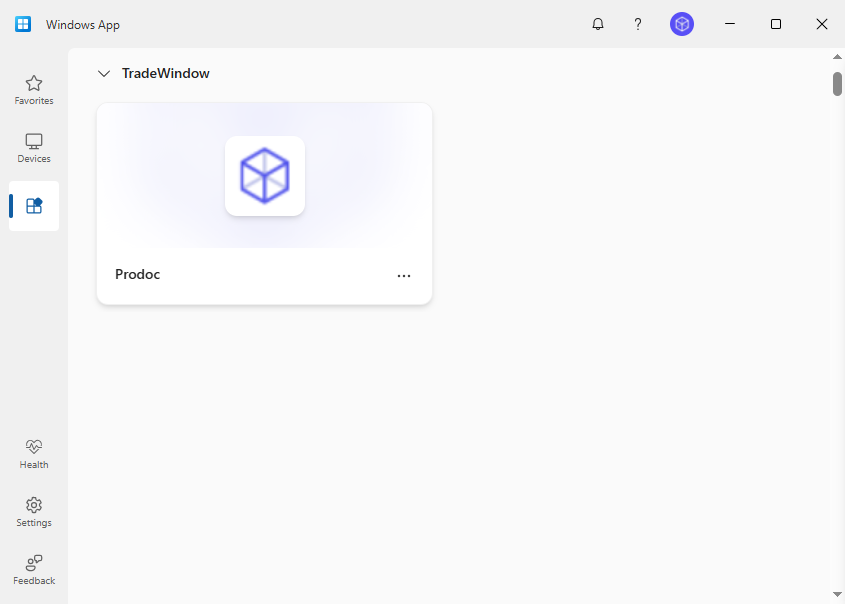
Click to launch the application and continue working as usual.
Tip: Once you’ve switched to the Windows App, you no longer need the legacy Remote Desktop application.
Step 5: Add Prodoc to your Start Menu
For easier access, you can use the Settings screen (button is at the bottom left of the Windows App) and then turn on the Add remote resources to your Start menu option as shown below:

With this enabled, Prodoc should appear as an application in your Start menu like it did when using the older Remote Desktop application.
Congratulations. Your Prodoc cloud installation is complete.
Skip to Prodoc user and printer setup.
TradeWindow Prodoc for Web and Linux
Step 1: Go to the Windows web client by clicking the below URL
https://windows.cloud.microsoft/
Note: If you are signed into your browser with a Microsoft account you may need to sign out first.
Step 2: Sign In
- Enter your @twprodoc.io username and password.
- If you do not know your password or need a reset, contact prodoc@tradewindow.io
Step 3: First time setup
Allow access to Clipboard and Printer
Skip to Prodoc user and printer setup.
TW Prodoc for Mac
Step 1: Install the Windows App
Download and install Windows App from the Mac App Store. When Windows App is installed, open it
Step 2: Sign In
Windows App opens on the Devices tab. Select the plus (+) icon, then select Add Work or School Account.

- Enter your @twprodoc.io username and password.
- If you do not know your password or need a reset, contact prodoc@tradewindow.io
Step 3: Switch to the Apps Screen
Your Prodoc Cloud access is in the 'Apps' section. Use the navigation bar on the left to switch to that.

Step 4: Access Prodoc
On the Apps screen, locate the Prodoc application. Click to launch the application and continue working as usual.
Congratulations. Your Prodoc cloud installation is complete. Double click on the Prodoc app icon on your workspace to start.
Skip to Prodoc user and printer setup.
Multi-factor authentication (MFA)
Prodoc Cloud uses multi-factor authentication to keep your account secure. This means that upon initial login and periodically afterwards you will be prompted to enter a secondary code during login that is sent to your mobile phone either via an app or via a text/call.
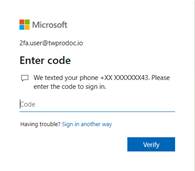
When logging into Prodoc Cloud you’ll be prompted to enter a code from your chosen authentication method:
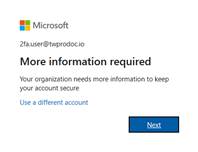
Initial setup:
During your initial login you’ll be prompted that more information is required:
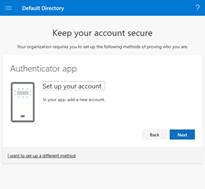
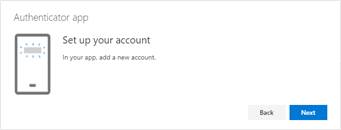
Upon clicking next you’ll be shown instructions for setting up this additional security:
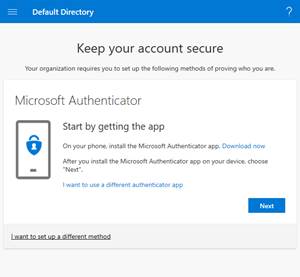
Here you have three options:
- Use Microsoft Authenticator – click Next
- Use a different Authenticator app (like Authy or Google Authenticator) – click I want to use a different authenticator app
- Receive codes via text/call – click I want to set up a different method
If you’re already using an authenticator app on your phone then we recommend option 2. You should also think about where you’ll be using Prodoc Cloud and whether you’ll have access to data or phone network and choose the appropriate option.
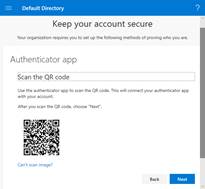
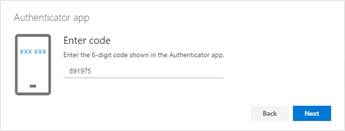
Examples of setup
Authenticator app
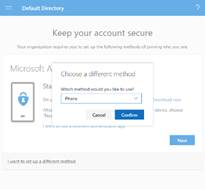
Text option
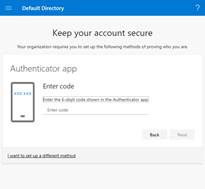

In either of the above the result of setting up MFA is a code that you enter after your username and password to verify your login is genuine.
Adding or changing multi-factor authentication (MFA)
You can change your MFA method any time by visiting https://aka.ms/MFASetup
You’ll need to login with your Prodoc Cloud account details (including current MFA code).
This takes you to the Security Info panel:

From here you can add a new MFA method here using the Add method button.
In the below example I have added an authenticator app to use instead of text message.


You can delete any unwanted methods from the same place you added them so that only your current valid methods are available when you log in.
If you lose access to your MFA method you will need to contact TradeWindow Support
Prodoc user and printer setup
User details
Step 1: Login to Prodoc with your credentials.
Step 2: Enter ‘User details’
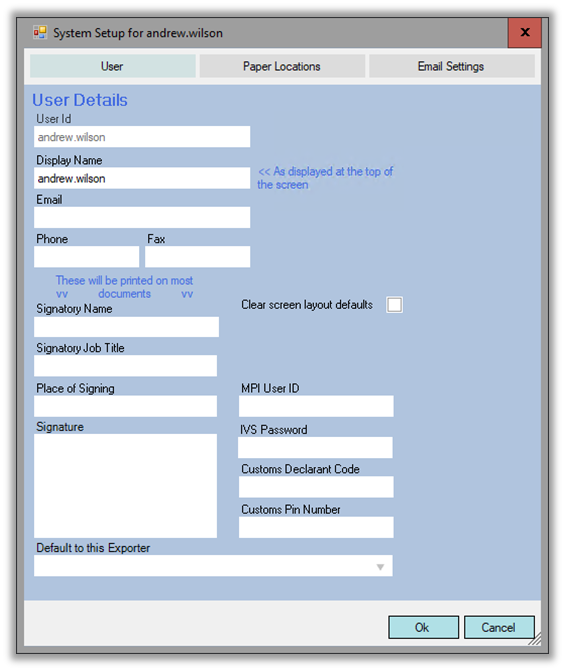
Hint: To use a digital signature contact the Prodoc Support team for more details.
Printer Setup
By default Prodoc will print to your default printer. You can ignore these instructions if that is your preference.
Web users: this does not apply – Prodoc Cloud will always produce PDF files when accessed via the web.
To print to a different printer, click on paper locations and follow the instructions below.
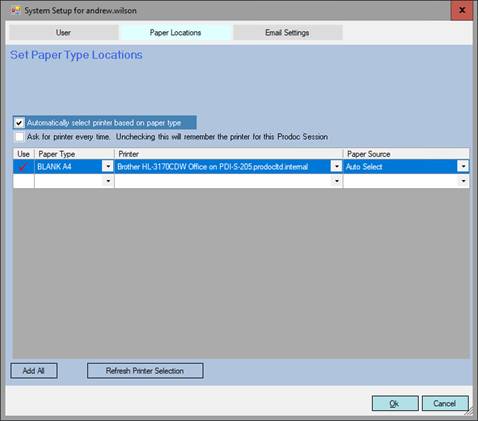
- Under ‘Paper type’, select ‘Blank A4’
- Select a printer from the dropdown under ‘Printer’
- Set the ‘paper source’ or select ‘Auto select’.
- Put a tick under ‘Use’ and click ‘Ok’
Hint: Check ‘Automatically select printer based on paper type’ if you have multiple printers.
Was this article helpful?
That’s Great!
Thank you for your feedback
Sorry! We couldn't be helpful
Thank you for your feedback
Feedback sent
We appreciate your effort and will try to fix the article